Angela's Nina Lee Park Lane Dress
Hi, I’m Angela (@mrspsews) and I was delighted to be asked by Katie from @sewsewsew to write a guest blog! I buy fabric from Katie’s online shop all the time, she stocks some wonderful fabrics so I knew I would be spoilt for choice choosing some for this blog.
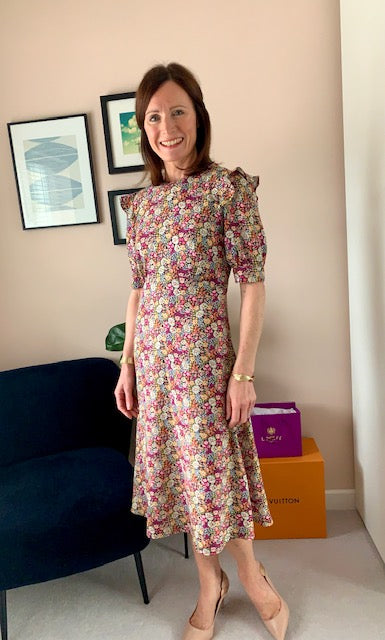
I decided on this beautiful summer flowers viscose. I’m a sucker for a floral print! I certainly wasn’t disappointed when the fabric arrived. It’s great when the fabric is even nicer than it appears on the website! It has a black background and is bursting with colourful flowers. Feels so soft to touch and drapes beautifully. I felt the Nina Lee, Park Lane dress would look amazing in this fabric. I couldn’t wait to get started!!!

My measurements are B32, W26, H33 which sized me in-between a 6 and 8. I know it’s best to size up but looking at the finished garment measurements and with the skirt falling above the waistline I felt I only needed to ensure the bust and shoulders where a good fit. 2 metres of fabric were needed for my size and 10 pattern pieces to cut.

The dress came together well and I found the instructions to be clear and easy to follow. I would definitely recommend this pattern. I do prefer when a pattern tells me when to finish the seams though, the instructions only mention this step at certain points and not throughout.
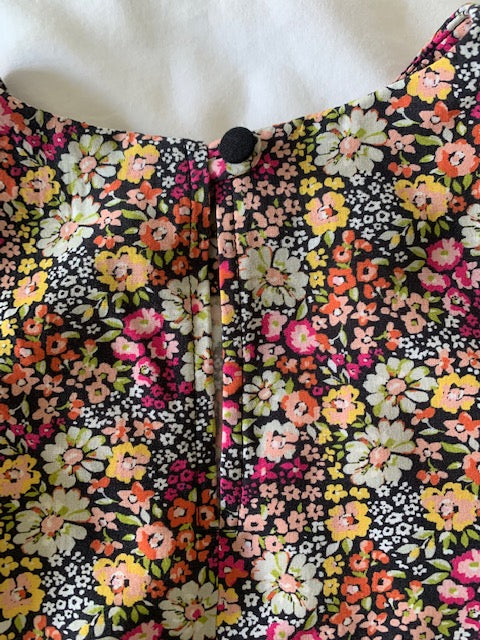
The dress has a 16 inch invisible zip on the left side, some quaint gathers at the front down from the bust and a keyhole opening with loop fastening at the back.
I opted for the shoulder ruffle version, love this cute detail!

I sometimes find it tricky when you need to press a very small hem, I tend to go a bit wobbly, especially when the fabric is floaty. So I started using this little technique which seems to help. I measure and fold the hem and pin the small hem to the ironing board and as I’m ironing remove the pins along the way.

One of the options for sewing the ruffle is using a rolled hem foot which I’ve never used before so this was a great opportunity to give it a go. I practiced on a couple of straight pieces of fabric, which after a couple of attempts felt I got the hang of. Doing this on a circular edge was a little more challenging!! They’re not perfect, but no one would know!

The short sleeve version has a nice bit of gathering into a cuff band.

I made two alterations, when stitching the bodice to the skirt I sewed a 1 inch seam rather than 5/8 just to lift it a little. At 5ft 4” most makes I need to trim a little off the bottom before hemming, I took 2 ½ inch off to get the length I wanted.

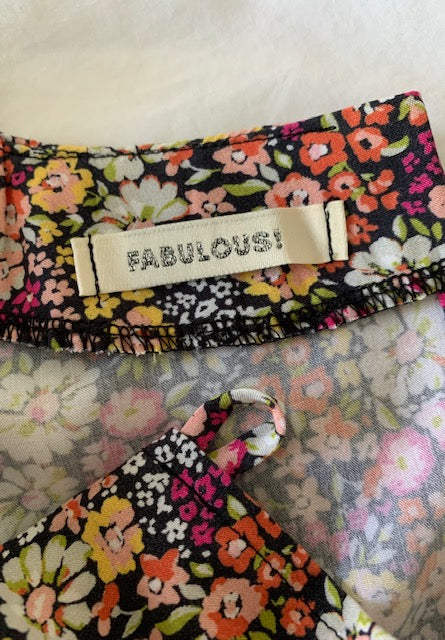
No garment is complete without a label! This is one of the labels which came from the @kylieandthemachine advent calendar.
I’ve really enjoyed making this dress, the fabric behaved better than expected and I’m really pleased with the fit. It turned out just how I imagined! The fabric is so light and soft it feels lovely to wear.
I finished the dress just in time for a summer evening stroll to the pub!


Thanks to the lovely Katie for inviting me to write my very first blog and thank you for taking the time to read it.
Happy Sewing!!
Angela xx
** Angela was given the fabric in exchange for this lovely blog post **
5 comments
Absolutely gorgeous dress and beautifully written blog. A delight to read.
Your dress is lovely and the close up shows the depth of the fabric colours.
I loved this blog by Angela! I’m not a very experienced sewer – but this has really inspired me to start!
5star🌟
Angela! This is so gorgeous. I also tried the rolled hem foot last week with some scrap fabric. I am absolutely going to snap up this pattern this week! I am finding making my clothes so satisfying at the moment! I had breast cancer last year and my shape has changed dramatically! I am due for one more surgery this year and I am done and will finally have a more permanent bust measurement! Yahoo! I love your makes. I love sewing! And I love these Nina Lee patterns 😍
Great to read your review I’ve this on my cutting table! I read a tip for tidy small roll folds on silk, you iron up a hem c1cm, stitch it very close to the ironed edge. Trim the excess right back and fold and stitch again for a super neat finish! Seemed to make sense…thought I’d share.